Lets get started!
------------
STEP 1
Here is the image and how I left off from the last tutorial (coloring sans). This time I am focusing on coloring in all the white areas on the image. I will be using quite a few markers.

STEP 2
I will start with her beach towel and coloring it green. I will be using G07, G05 and G02. Starting with G07 I will shade in the areas that will be the darkest (where the sun will hit last).

STEP 3
Now I will take the medium color (G05) and add to the color, spreading it out a little more.

STEP 4
Taking the lighest green (G02) I will finish coloring in the white spaces and all over the green areas to evenly blend.

STEP 5
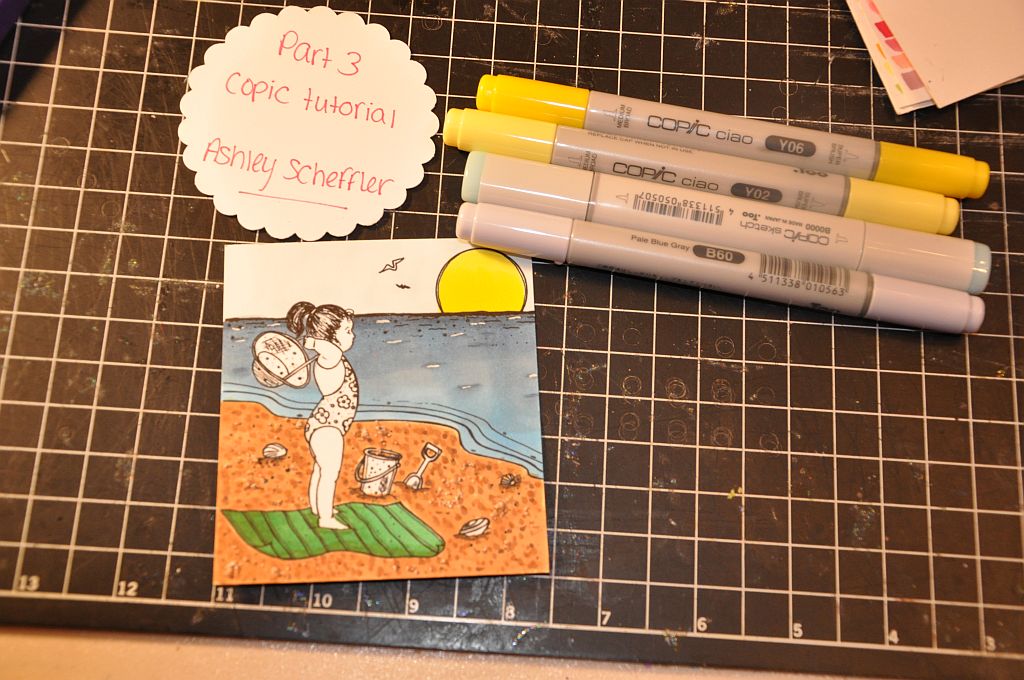
Now I will be coloring the top area of the image (sky, sun, bird). For the sun I used Y02 and Y06. For the bird I used B60 and for the sky I used one of the newest Sketch markers B0000.
STEP 6
Now I will be coloring the little girl image. For her skin I used E00. For her hair I used Y17 for a darker blonde. For her swim suit and hat I used RV21, RV23 and Y17 for the little flowers.

STEP 7
Now it's time to finish coloring the shells (I used E95) and the sand toys. (I used YR04 and YR16)

STEP 8
Here is a close-up of the finished colored image!

STEP 9
Use the image to create a project! I used a card with some bright paper scraps that just screamed BEACH to me. I also put glossy accents on the sun and the sea shells in the sand. For my added embellishment I used a Prima flower and actual shells I got from our Florida trip in May.

I hope you enjoyed this part series for the Copic tutorial. Be sure to stay tuned for my next tutorial....it's a fun technique!!
No comments:
Post a Comment